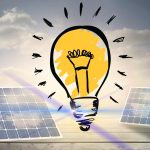
Solar energy is becoming an increasingly popular choice for homeowners and businesses looking to reduce electricity bills and contribute to a greener environment. Installing solar panels is a significant investment, and understanding the process can help you make informed decisions. In this comprehensive guide, we will walk you through the step-by-step solar panel installation process, ensuring efficiency, safety, and optimal performance.
Step 1: Solar Installation Planning & Safety
Before you begin installing solar panels, thorough planning and adherence to safety measures are essential.
1.1 Assessing the Installation Site
- Determine if your roof is suitable for solar panel installation. Factors such as roof angle, direction, and structural integrity play a crucial role.
- Ensure the area gets maximum sunlight exposure throughout the day, with minimal shading from trees or buildings.
- If you live in an area with extreme weather conditions, consider additional reinforcements for the mounting system.
1.2 Selecting the Right Solar Panels
- Choose between monocrystalline, polycrystalline, or thin-film solar panels based on your budget and efficiency requirements.
- Higher efficiency panels like monocrystalline are ideal for smaller rooftops, while polycrystalline panels offer a cost-effective alternative.
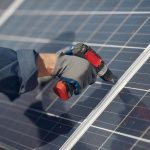
1.3 Safety Precautions
- Turn off the electricity supply before installation to avoid electrical hazards.
- Use proper personal protective equipment (PPE), including safety gloves, goggles, and harnesses for rooftop work.
- Work with a stable ladder or scaffolding to ensure safe access to the installation area.
Step 2: Wiring & Electrical Setup
Proper wiring and electrical connections are crucial for the efficient functioning of the solar panel system.
2.1 Installing the Solar Inverter
- The inverter converts DC (Direct Current) electricity generated by the solar panels into AC (Alternating Current) used by household appliances.
- Choose between string inverters, microinverters, or hybrid inverters based on your system setup.
- Install the inverter in a cool, well-ventilated area to prevent overheating.
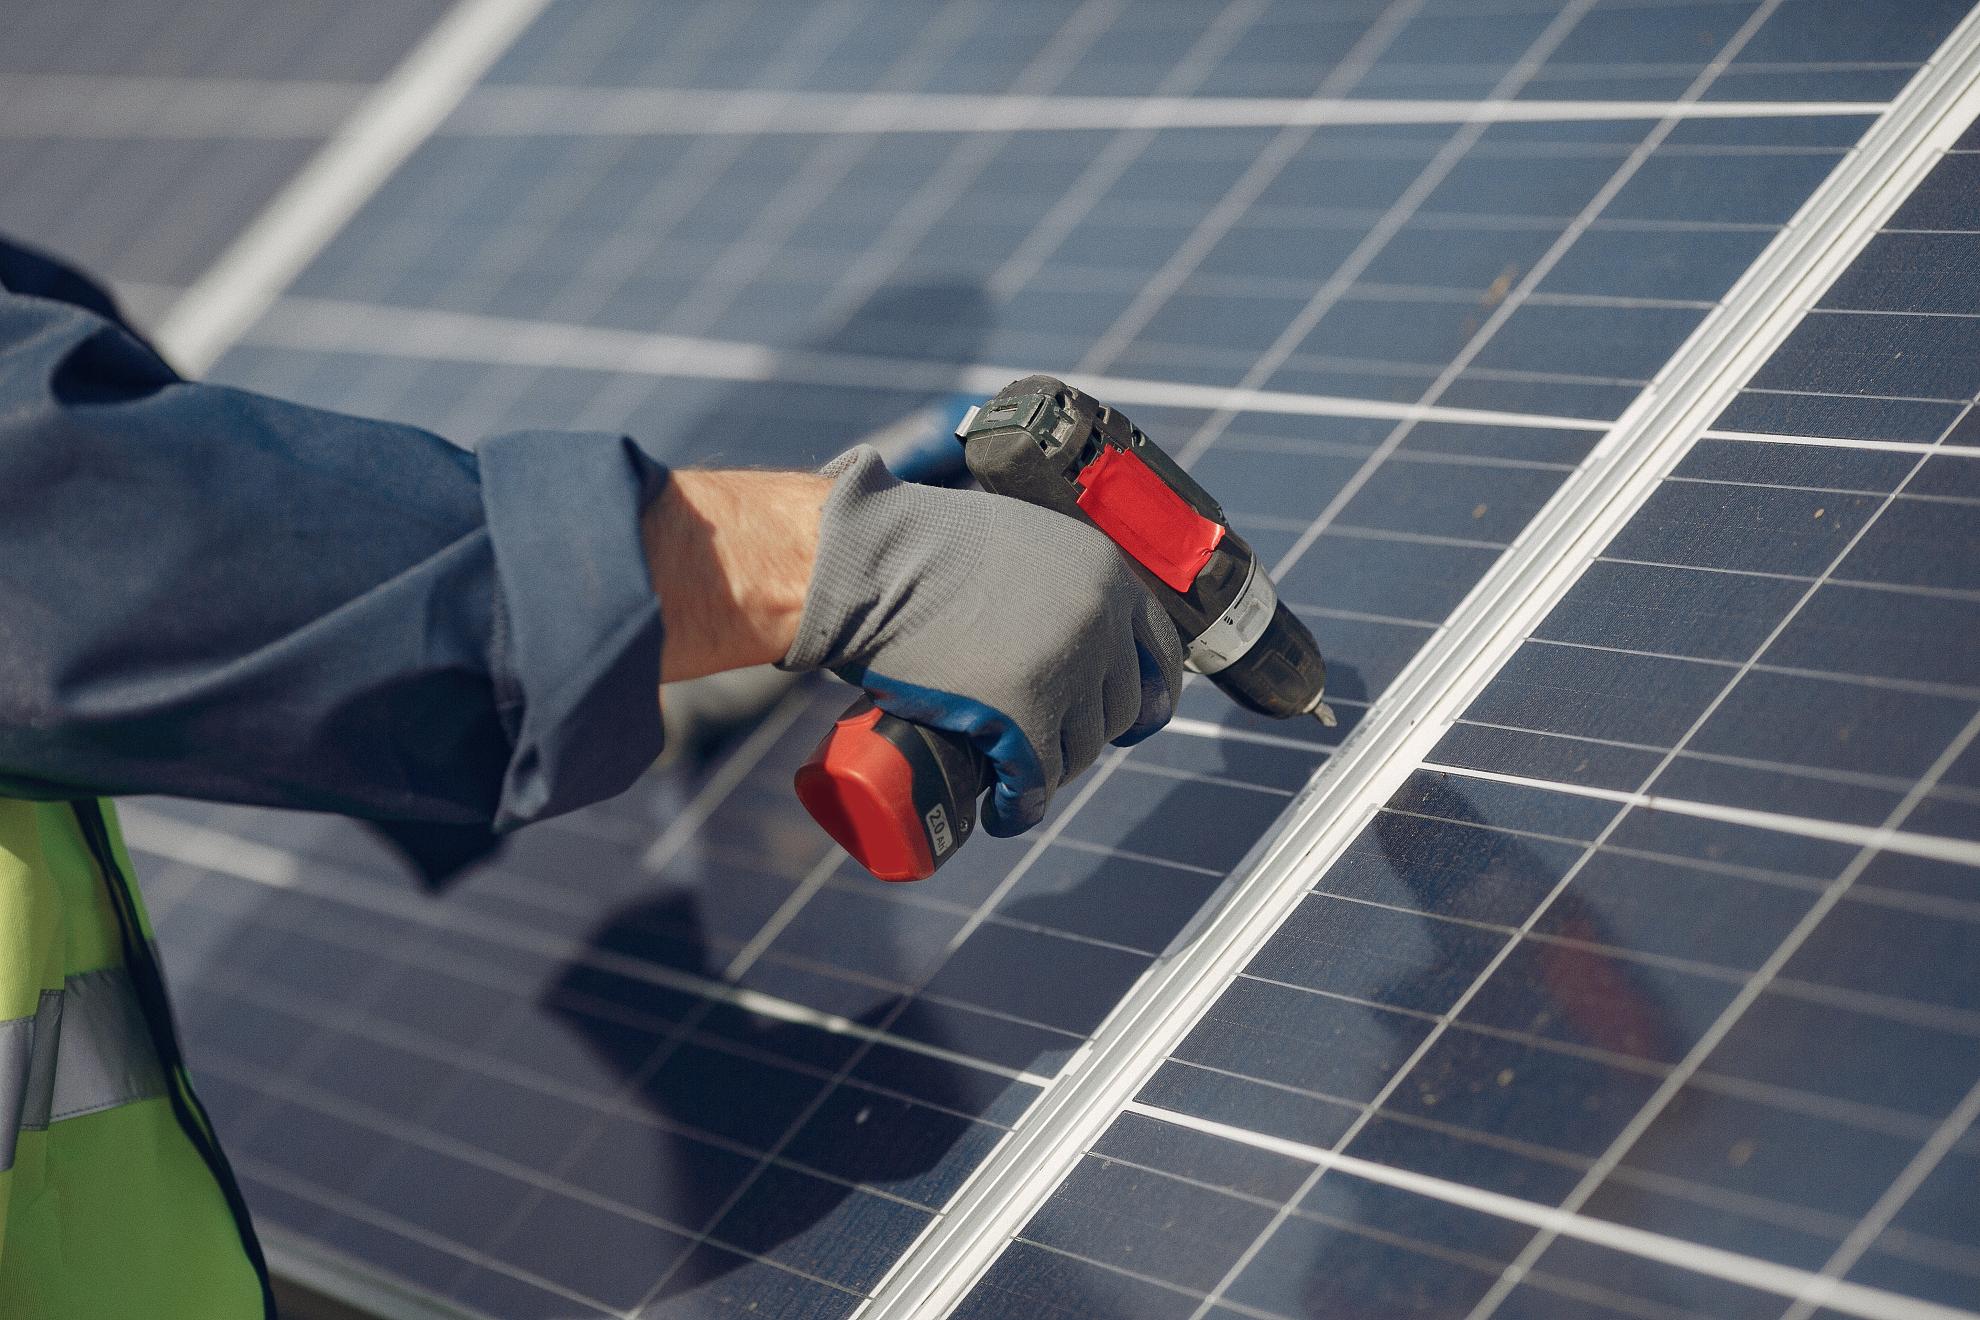
2.2 Setting Up the Wiring
- Use high-quality cables and conduits to connect the solar panels to the inverter.
- Ensure proper insulation to prevent short circuits and damage from weather conditions.
- Follow the manufacturer’s wiring diagram to avoid incorrect connections.
2.3 Grounding the System
- Grounding prevents electrical shocks and system failures.
- Use a grounding rod and copper wire to connect the metal components of the system to the ground.
- Check your local electrical codes and regulations for compliance.
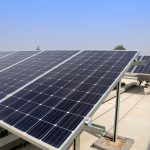
Step 3: Mounting Your Panels
Mounting the panels securely ensures stability and maximum energy absorption.
3.1 Fixing the Mounting Structure
- Secure mounting rails or brackets onto the roof using bolts and screws.
- Use a tilted frame if your roof has a flat surface to optimize sunlight capture.
- Apply weatherproof sealant around the mounting holes to prevent leaks.
3.2 Placing and Securing the Solar Panels
- Carefully place each solar panel onto the mounting structure.
- Secure panels using clamps and brackets, ensuring they are firmly fixed.
- Align the panels properly to maintain uniformity and enhance aesthetics.
3.3 Adjusting the Panel Angles
- The ideal tilt angle depends on your geographical location.
- In general, the tilt should match your latitude for optimal energy production.
- Some advanced systems use solar tracking to automatically adjust the panels’ angles throughout the day.
Step 4: Solar Battery Installation (Optional)
If you want to store excess solar energy for night-time use or backup during power outages, consider installing a solar battery storage system.
4.1 Choosing the Right Battery
- Common battery options include lithium-ion, lead-acid, and flow batteries.
- Lithium-ion batteries (e.g., Tesla Powerwall, LG Chem) offer high efficiency and longer lifespan.
- Assess the battery capacity (kWh) based on your daily energy consumption.
4.2 Connecting the Battery to the Inverter
- Follow the manufacturer’s guidelines to properly wire the battery to the solar inverter.
- Use a charge controller to regulate power flow and protect the battery from overcharging.
- Ensure the battery is installed in a cool, ventilated area to prevent overheating.
4.3 Testing the System
- After completing the installation, check all connections, fuses, and voltage levels.
- Monitor energy flow using smart solar monitoring tools.
- Conduct a final inspection to ensure safety and compliance with local regulations.
Final Steps: System Activation & Maintenance
5.1 Activating Your Solar Panel System
- Turn on the inverter and check for error codes or warnings.
- Monitor the energy output and ensure it aligns with expected efficiency levels.
- Contact your utility provider if net metering is required to sell excess energy back to the grid.
5.2 Routine Maintenance for Long-Term Performance
- Clean solar panels regularly to remove dirt and debris that can reduce efficiency.
- Inspect wiring and tighten loose connections periodically.
- Schedule professional inspections at least once a year to identify potential issues.
Benefits of Installing Solar Panels
- Reduces electricity bills by harnessing free solar energy.
- Environmentally friendly – lowers carbon footprint.
- Increases property value by making homes more energy-efficient.
- Minimal maintenance and long-term savings.
- Government incentives and tax benefits in many regions.
Why Choose Professional Solar Installation?
While DIY solar panel installation is possible, hiring professional solar installers ensures:
- Correct and safe installation, avoiding electrical hazards.
- Maximum system efficiency for optimal energy production.
- Warranty protection for panels, inverters, and batteries.
- Compliance with local building codes and permits.